
DIY Car Maintenance for Complete Beginners

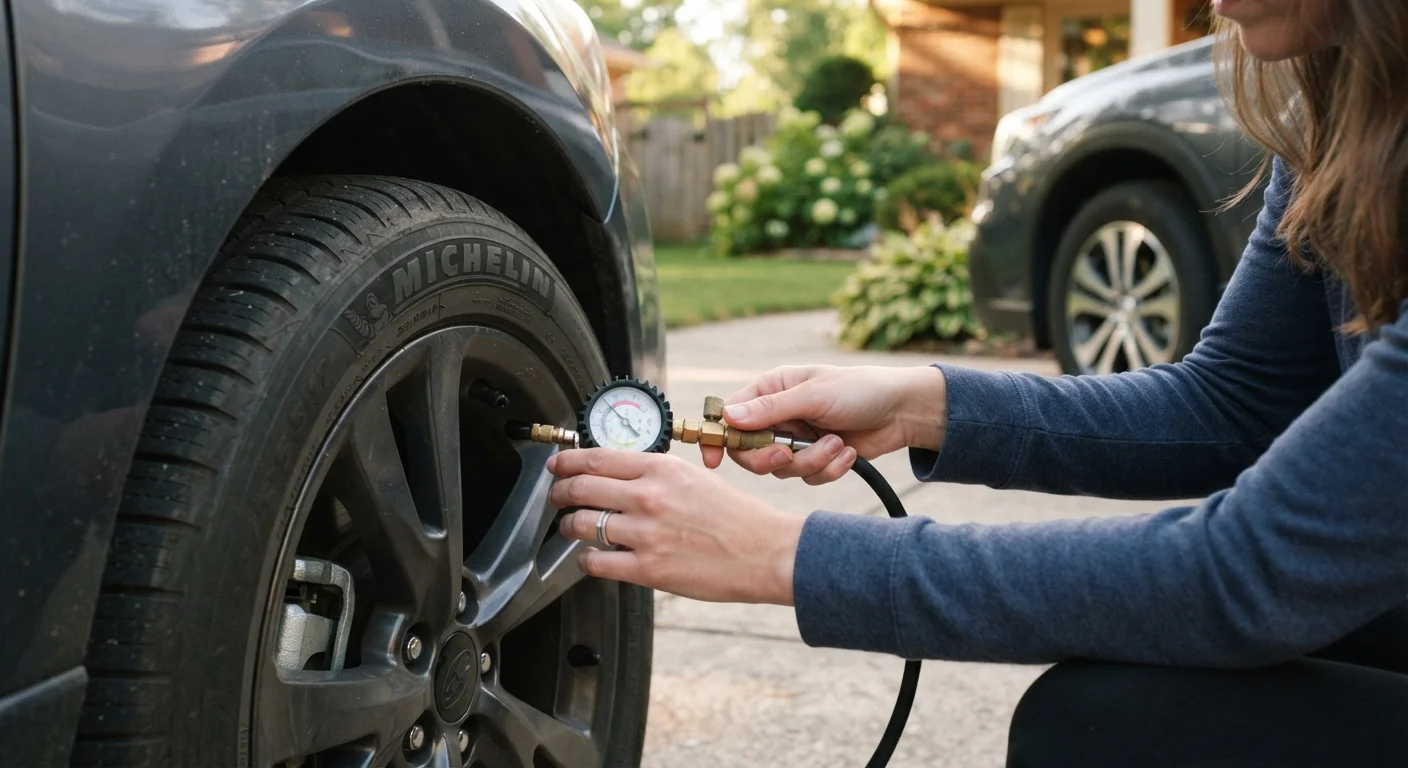
No garage, no experience? This introduction covers the simple tasks any driver can safely handle at home to cut maintenance costs.
Start here
What counts as beginner-friendly maintenance
First task
Tires: the easiest place to start
Build on it
Fluid checks you can do in the driveway
Next step
Cabin air filter and wiper blades
Stay safe
Knowing when to stop and call a mechanic
Key takeaways
- Tire pressure checks and visual inspections require no tools beyond a basic gauge and take under five minutes.
- Checking fluid levels is a visual task most drivers can learn in one session with the owner's manual open.
- Cabin air filters and wiper blades are typically swap-in replacements that need no mechanical skill.
- Some jobs genuinely require a qualified mechanic; knowing the line protects both your safety and your wallet.
- Your owner's manual is the single most reliable source for service intervals and fluid specifications.
What counts as beginner-friendly maintenance
A beginner-friendly maintenance task has three traits: it does not require lifting the vehicle off the ground, it carries a low safety risk if done slightly wrong, and the steps are visible and checkable in real time. That description fits a short list of jobs, and starting with those jobs will save money without putting anyone at risk.
Your owner's manual is the foundation of all of this. It lists every fluid specification, service interval, and filter part number for your specific vehicle. Generic advice online can point you in the right direction, but the manual is what actually applies to your car. If you do not have a physical copy, most manufacturers post PDF versions on their websites at no cost. The maintenance schedule guide covers how to read those intervals in detail.
PSI
Pounds per square inch, the unit used to measure tire pressure. Your vehicle's recommended PSI is listed on the door jamb sticker.
Dipstick
A long metal rod used to measure the level and condition of engine oil. Pull it out, wipe it, reinsert it, then read the level on the marked tip.
Coolant
A liquid mixture (usually water and antifreeze) that circulates through the engine to regulate temperature and prevent overheating or freezing.
Cabin air filter
A replaceable filter that removes dust, pollen, and debris from the air flowing into your vehicle's interior through the vents.
Service interval
The mileage or time period at which a specific maintenance task should be performed, as specified by the vehicle manufacturer in the owner's manual.
Valve stem
The small rubber or metal tube sticking out of each wheel rim where you attach a pressure gauge or air pump to check or fill a tire.
Tires: the easiest place to start
Tire pressure is the single most accessible maintenance check for a first-timer. Under-inflated tires wear faster, reduce fuel efficiency, and affect handling. Over-inflated tires are harder and lose grip. The correct pressure for your vehicle is on a sticker inside the driver's door jamb; the number printed on the tire sidewall is the tire's maximum, which is different.
A basic dial or digital tire pressure gauge costs a few dollars and fits in a glove box. Remove the valve cap from the tire stem, press the gauge firmly onto the stem, and read the number. Compare it to the door jamb sticker and add or release air as needed. Most gas stations have air compressors available.
While you are at the tires, do a quick visual check. Look for uneven wear across the tread width, visible cracks in the sidewall, or any objects embedded in the tread. These are signs worth showing a mechanic. For more on keeping tires in good shape over time, see the tire care habits guide.
Fluid checks you can do in the driveway
Most fluid checks are visual: you are looking at a dipstick or a translucent reservoir and comparing what you see to a marked line. The engine should be off and cooled down before you open the hood for anything involving oil or coolant.
Engine oil is checked with a dipstick. Pull it out, wipe it on a clean cloth, reinsert it fully, and pull it out again. The oil level should fall between the two marks at the bottom of the dipstick. The color matters too: fresh oil is amber; very dark or gritty oil is a sign the change interval has passed.
Coolant (the liquid that prevents the engine from overheating) sits in a plastic reservoir with MIN and MAX lines on the outside. Check it cold and never open the radiator cap on a warm engine, since pressurized coolant can cause burns. Windshield washer fluid is the one fluid that carries no safety risk and can be topped off at any time.
Brake fluid, power steering fluid, and transmission fluid can also be checked visually on most vehicles, but the correct fluid type matters. Only add the fluid specified in your owner's manual. The fluid levels walkthrough goes through each one step by step.
Cabin air filter and wiper blades
The cabin air filter cleans the air that comes through your vents. A clogged filter reduces airflow and can affect air conditioning performance. On most vehicles it sits behind the glove box or under the dashboard, and replacement involves removing a panel, sliding the old filter out, and sliding a new one in. The owner's manual shows the location and the replacement interval, which is often every 15,000 to 25,000 miles depending on driving conditions.
Wiper blades wear out from sun exposure and friction. Signs of wear include streaking, skipping, or squeaking during rain. Replacement blades come with instructions and fit multiple attachment types. Measure your current blades or look up your vehicle's size by year, make, and model before buying. The swap typically takes under ten minutes per blade and needs no tools.
Check parts compatibility before you buy
Cabin air filters and wiper blades are vehicle-specific. Most auto parts stores have a lookup book or online tool where you enter your year, make, and model to confirm the right size and part number before purchasing. Buying the wrong size is a common and avoidable mistake.
Both of these are jobs where the part cost is low and labor charges at a shop are disproportionately high. Doing them yourself is one of the more straightforward ways to cut routine maintenance costs.
Knowing when to stop and call a mechanic
DIY maintenance has a clear boundary. Brake system work, suspension components, fuel system repairs, and anything involving the vehicle being raised on jack stands all carry real safety risk when done without the right tools and training. These jobs belong with a qualified mechanic.
Warning lights deserve attention rather than delay. A check engine light, a brake warning, or a low oil pressure light can indicate problems that worsen quickly if ignored. The cost of ignoring small problems is often much higher than the original repair. When you are unsure whether a shop visit is worth it, the dealership versus independent mechanic comparison can help you decide where to go.
Good DIY habits and knowing when to hand a job off are not opposites. They work together to keep repair bills manageable over the life of the vehicle.
Frequently Asked Questions
The content provided on our blog site traverses numerous categories, offering readers valuable and practical information. Readers can use the editorial team’s research and data to gain more insights into their topics of interest. However, they are requested not to treat the articles as conclusive. The website team cannot be held responsible for differences in data or inaccuracies found across other platforms. Please also note that the site might also miss out on various schemes and offers available that the readers may find more beneficial than the ones we cover.