
Checking Fluid Levels Without a Trip to the Shop

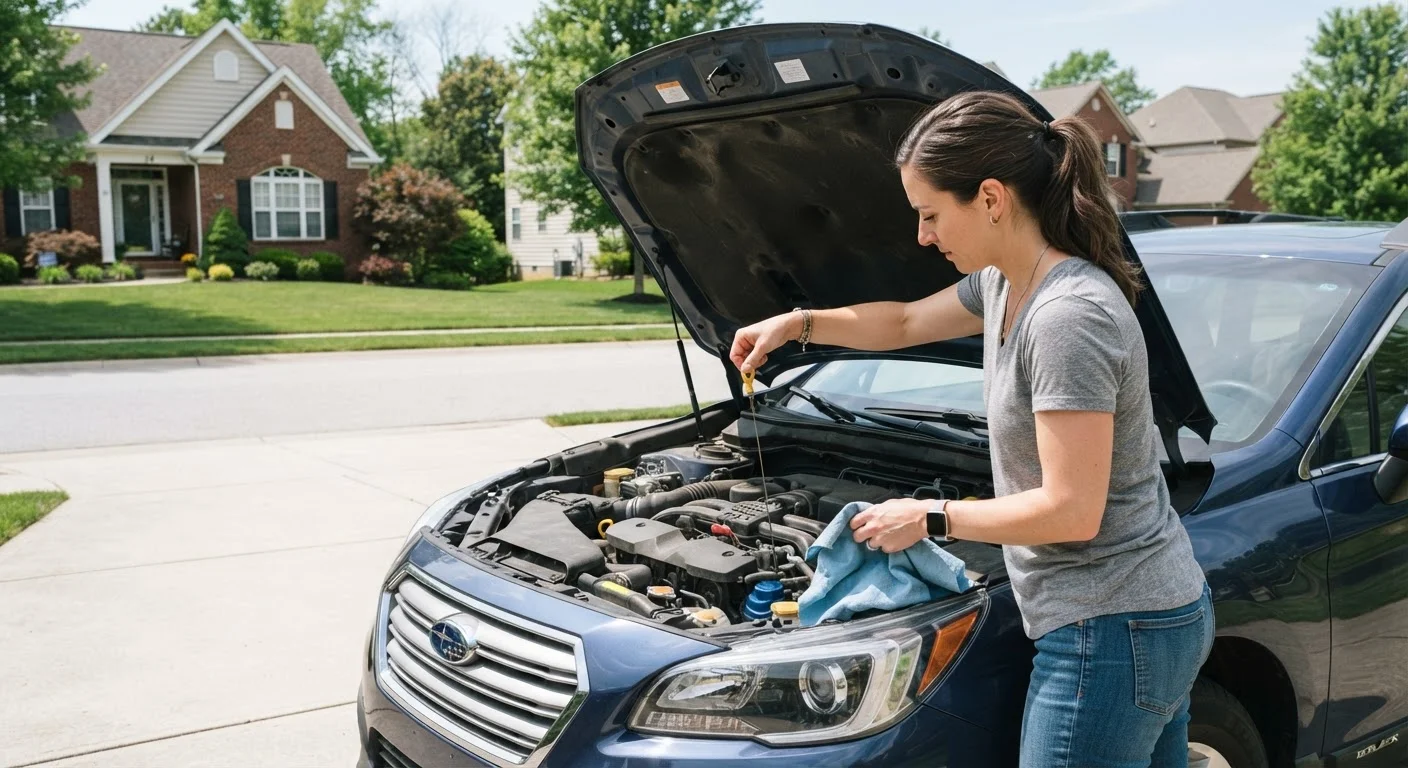
Engine oil, coolant, brake fluid, and more. A plain-language walkthrough for checking your car's essential fluids at home.
Key takeaways
- All major fluid checks can be done at home with no special tools in under 20 minutes.
- Engine oil, coolant, brake fluid, power steering fluid, and transmission fluid each have a specific check method.
- Color and smell matter as much as level: dark, cloudy, or burnt fluid often signals a problem beyond just topping off.
- Always check fluids with the engine cold and the vehicle parked on a level surface for accurate readings.
- Consistent fluid checks can catch small leaks early, before they become expensive repairs.
What you need before you start
Checking your car's fluids costs nothing beyond a few minutes of time. You do not need a mechanic's background or a garage full of equipment. Before you open the hood, park on a flat, level surface and let the engine cool for at least 10 to 15 minutes. Hot engines can give false dipstick readings, and pressurized coolant systems can release scalding fluid if opened too soon.
Keep a few clean lint-free rags or paper towels nearby. A flashlight helps in low-light conditions. That is genuinely all you need for most checks.
If you are new to working around your car, the beginner's guide to DIY car maintenance covers the basic safety habits worth building before you start.
What you will need
Owner's manual
Identifies the exact location of each fluid reservoir and specifies the correct fluid type for your vehicle.
Lint-free rags or paper towels
Used to wipe the dipstick clean between readings for an accurate fluid level check.
Flashlight
Helps you see fluid color and level in dim engine bay conditions.
Nitrile gloves
Keeps fluids off your hands, particularly useful when handling brake fluid, which can irritate skin.
How to check each fluid
Your owner's manual shows the location of every reservoir and dipstick for your specific vehicle. If you do not have the manual, most automakers post them on their websites as free PDFs. The steps below apply broadly across most passenger cars and light trucks sold in the United States, but always confirm the reservoir locations for your make and model.
Check engine oil
Locate the oil dipstick, usually marked with a bright-colored ring near the front of the engine. Pull it out, wipe it clean with a rag, reinsert it fully, then pull it out again. The oil should sit between the two marks at the bottom of the dipstick. Most engines hold between 4 and 6 quarts, so even a half-quart low is worth topping off.
Add oil only if the level is below the lower mark. Use the viscosity grade listed in your owner's manual (for example, 5W-30). Do not overfill: oil above the upper mark can froth under pressure and reduce lubrication. Understanding oil viscosity ratings explains what those numbers mean if the label looks confusing.
Check coolant (antifreeze)
The coolant reservoir is a translucent plastic tank, usually near the radiator. Do not open the radiator cap on a hot engine; the system is pressurized and can spray hot coolant. Check the level against the MIN and MAX marks on the side of the reservoir. On most vehicles this is all you need to do; the overflow tank is part of the closed loop.
Coolant should appear bright green, orange, or pink depending on the type your vehicle uses. If it looks brown, rusty, or has visible particles, a flush is due. Never mix different coolant types without confirming compatibility in your owner's manual.
Check brake fluid
The brake fluid reservoir sits on top of the master cylinder near the back of the engine bay on the driver's side. Most reservoirs are translucent, so you can read the level through the side without removing the cap. The level should be between MIN and MAX.
A gradual drop in brake fluid level over time often means the brake pads are wearing down and the caliper pistons are extending further. This is normal as pads wear. A sudden drop, however, can indicate a leak in the hydraulic system and should be diagnosed by a qualified mechanic before driving.
Check power steering fluid
Many newer vehicles have electric power steering and no fluid reservoir at all. If your vehicle has hydraulic power steering, the reservoir is typically a small capped cylinder near the engine's drive belts. Some have a dipstick built into the cap; others have MIN/MAX marks on the side.
Check this fluid with the engine warm for an accurate reading, since hydraulic fluid expands with heat. Add the specific type listed in your owner's manual if the level is low.
Check transmission fluid
Automatic transmissions on many older vehicles have a dipstick similar to the oil dipstick, often located toward the back of the engine bay. Many newer vehicles have a sealed transmission with no dipstick at all; checking those requires a lift and a drain plug, which is a shop-level job.
If your vehicle has a dipstick, check transmission fluid with the engine warm and running, with the transmission in Park. The fluid should be reddish and slightly translucent. Dark brown, black, or burnt-smelling fluid means a fluid change is overdue.
Build a quick monthly habit
Pick one day a month to run through all five fluid checks at once. It takes about 10 minutes and creates a mental baseline so you notice when something looks different. Pairing it with a visual tire pressure check makes the whole routine faster.
For a fuller picture of how fluid checks fit into your car's overall service schedule, see your car's maintenance schedule, explained.
Reading what you find
Fluid level is only part of the story. Condition tells you more. Engine oil that looks black is not automatically bad; modern oils darken quickly with normal use. Oil that smells burnt, looks milky, or has a gritty texture is a stronger warning sign. Milky oil can indicate coolant mixing with oil, which warrants a mechanic's diagnosis before you drive further.
Brake fluid darkens over time as it absorbs moisture from the air. Most manufacturers recommend a full flush every two to three years regardless of level. If the fluid looks nearly black or has visible particles, schedule a flush. Power steering fluid that smells burnt or looks foamy also calls for a flush, not just a top-off.
If you find a reservoir consistently low between checks, a slow leak is likely. Adding fluid is a short-term measure; finding the source of the loss protects the vehicle long-term. Checking fluids before each season changes is one of the easiest ways to catch these patterns early.
For unfamiliar terms you encounter in your owner's manual during any of these checks, the car care glossary defines the most common ones in plain language.
The content provided on our blog site traverses numerous categories, offering readers valuable and practical information. Readers can use the editorial team’s research and data to gain more insights into their topics of interest. However, they are requested not to treat the articles as conclusive. The website team cannot be held responsible for differences in data or inaccuracies found across other platforms. Please also note that the site might also miss out on various schemes and offers available that the readers may find more beneficial than the ones we cover.