
Why Cheap Caulk Jobs End Up Costing More in the Long Run

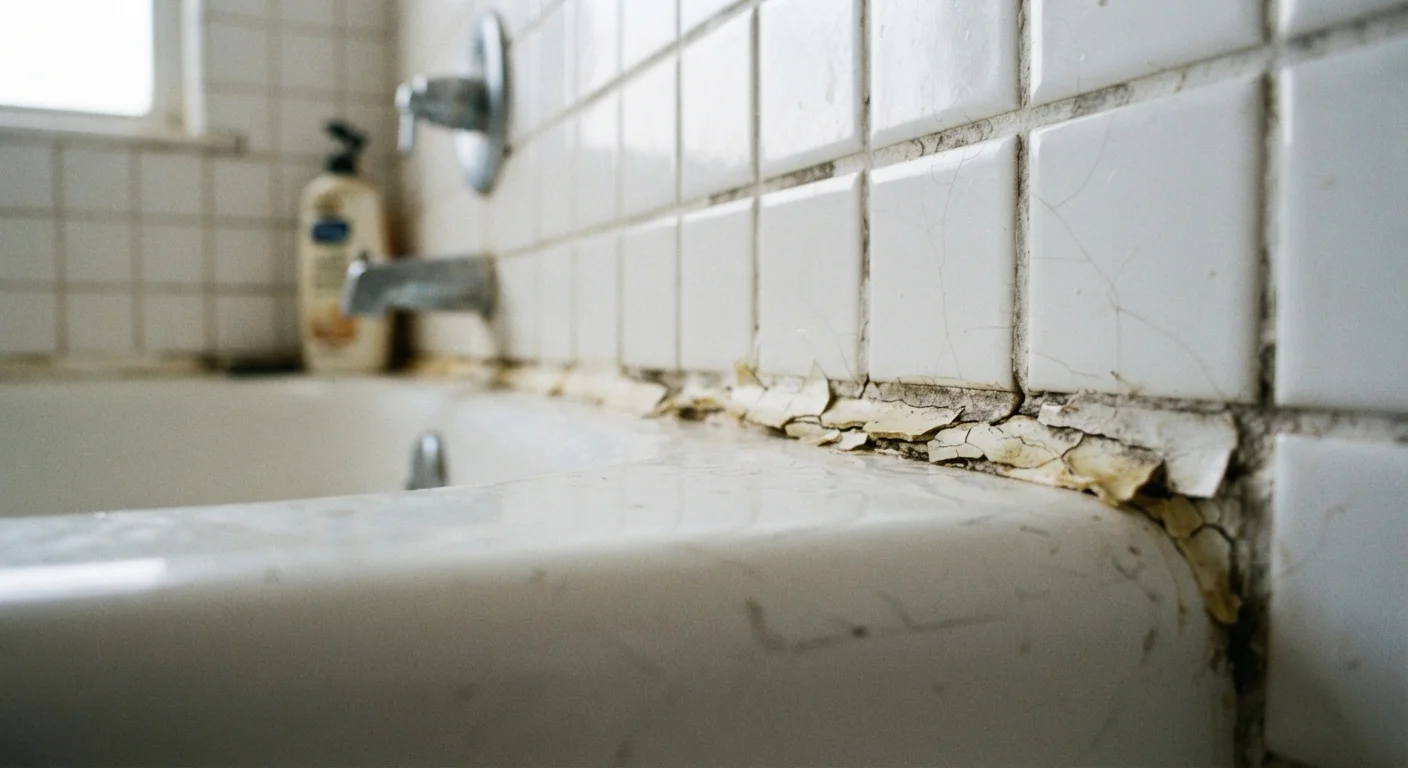
Skimping on caulking around windows, tubs, and doors is a common frugal mistake. Find out what goes wrong and how to seal things properly the first time.
Key takeaways
- Cheap or improperly applied caulk fails faster, allowing water damage that costs far more to repair.
- The wrong caulk type for the location is one of the most common and avoidable mistakes homeowners make.
- Surface prep before applying caulk determines how long the seal actually lasts.
- Water intrusion behind walls and under floors can cause mold and structural rot within months.
- A thorough caulk job done once correctly is almost always cheaper than patching a failed one twice.
Where cheap caulk jobs go wrong
Caulk is one of the least expensive materials in home maintenance, and that low price point makes it easy to treat as interchangeable. It is not. The gap between a caulk job that lasts a decade and one that fails in a season comes down to material choice, surface preparation, and application technique, not how much you spend at the register.
Water is the main threat. When a caulk seal fails around a bathtub, a window frame, or an exterior door, water finds the gap. It may not pool visibly; it seeps into wall cavities, under tile backer board, and into wood framing where it sits. Mold follows moisture. Rot follows mold. What started as a $6 tube of the wrong product can set off a repair chain that runs into the hundreds or thousands of dollars. The real cost of deferred home maintenance works the same way: small neglected items rarely stay small.
Using interior paintable caulk in wet areas like tubs, showers, or exterior window frames.
Why it happens: Paintable latex caulk is inexpensive and widely available, so many homeowners grab it without checking whether it suits the location.
Skipping surface preparation, including cleaning, drying, and removing old caulk residue.
Why it happens: Prep work is unglamorous and takes longer than the caulk application itself, so it gets rushed or skipped entirely.
Applying caulk in a single thick bead instead of a smooth, consistent thin line.
Why it happens: People assume more material means a stronger seal, and controlling a caulk gun takes more practice than it looks.
Caulking over gaps that are too wide for caulk to bridge properly.
Why it happens: Homeowners want a quick fix and do not realize that caulk has a maximum effective joint width, typically around 3/8 of an inch for most products.
Not allowing adequate cure time before exposing the joint to water or paint.
Why it happens: Impatience is the main driver; the caulk looks dry on the surface within an hour, so it feels ready to use.
How to get a caulk job that actually holds
The five mistakes above share a common thread: each one trades short-term convenience for a failure that costs more to fix than the original job. Getting caulk right the first time is not complicated, but it does require patience at each step.
Do not caulk over existing failing caulk
Applying fresh caulk on top of old, cracked, or moldy caulk is one of the fastest ways to guarantee another failure. The new bead cannot bond properly to a compromised surface. Remove all old material first, clean the joint thoroughly, and let it dry completely before applying anything new.
Start by identifying the joint type. Wet areas and exteriors need silicone or siliconized latex. Interior dry joints can use paintable acrylic latex. Then remove everything old, clean the surface, and let it dry completely before touching a new cartridge. Apply a thin, consistent bead, tool it smooth, and respect the cure window before exposing it to water or weather.
For larger projects or locations with significant water exposure, the DIY versus hiring a pro guide can help you decide whether the scope warrants professional help. And if you want to build a broader set of repair skills that hold up over time, the weekend repairs guide covers which jobs reward a careful DIY approach.
$1,000+
Average cost of minor water damage repair
The Insurance Information Institute has noted that water damage claims are among the most frequent for homeowners, with even limited intrusion often costing four figures to remediate properly.
~$10
Typical cost of a quality caulk cartridge
A single tube of appropriate silicone or siliconized latex caulk generally costs under $10 at most hardware stores, making proper material selection an inexpensive choice relative to the damage a wrong product causes.
The spending pattern behind a bad caulk job mirrors the shopping habits that quietly inflate the family budget: a small, low-attention decision repeated a few times adds up to a real cost. Buying the right caulk once and applying it correctly is the cheaper path, even if it takes an extra hour of prep.
The content provided on our blog site traverses numerous categories, offering readers valuable and practical information. Readers can use the editorial team’s research and data to gain more insights into their topics of interest. However, they are requested not to treat the articles as conclusive. The website team cannot be held responsible for differences in data or inaccuracies found across other platforms. Please also note that the site might also miss out on various schemes and offers available that the readers may find more beneficial than the ones we cover.